How to Progress From Assisted to Full Push-Ups (Step by Step)
Push-ups are one of the simplest and most effective strength exercises — but they’re often taught poorly.
Many beginners are told to “just do push-ups,” without being shown how to build the strength for them first. The result is frustration, bad form, or giving up entirely.
This guide breaks the push-up down into clear, manageable stages, starting with assisted variations and progressing toward a full, unassisted push-up. Each step builds the strength, control, and body awareness you need — without rushing or forcing progress.
You don’t need to be strong already.
You just need a clear path forward.
What a Proper Push-Up Looks Like (Before You Start)
Note: If you’d prefer to get straight into practicing push-ups, you can skip the form explanation below and move directly to the beginner push-up progressions section.
If you’re new to push-ups or want a clearer understanding of what good reps should look like, the short section below will help you build better habits from the start.
A proper push-up isn’t about how many reps you can do — it’s about how your body moves as one unit.
Before you begin any variation, understand these non-negotiable fundamentals.

Starting Position: Building a Strong Push-Up Base
Before the push-up even begins, everything is already happening here.
In the correct starting position, the body is set up like a strong plank. The arms are straight, the shoulders are active, and the body forms one continuous line from head to heels.
Notice how the upper back is not collapsed. The shoulder blades are slightly raised and controlled, rather than sinking together. This creates stability through the shoulders and allows the arms to support load safely.
The core is already engaged in this position. The hips aren’t sagging, and they aren’t lifted high — they’re simply held in place. This tension connects the upper body to the lower body so the push-up moves as a single unit, not as disconnected parts.
Because of this setup:
- The core stays active throughout the movement
- The chest and triceps can do their job properly
- The shoulders stay stable instead of taking unnecessary strain
Nothing is forced here. It’s not about squeezing as hard as possible — it’s about holding form.
Think of this position as the foundation.
If this form is solid, everything that follows becomes smoother, stronger, and safer.
Push-Up Progressions for Beginners
The goal isn’t to force full push-ups.
The goal is to keep the same push-up form you just learned, while gradually reducing assistance.
Every step below uses the exact same principles:
- Straight body line
- Active shoulders
- Controlled movement
Only the difficulty changes.
If your form starts to break down, dial things back to a variation you can perform with effort and control.
Step 1: Assisted Push-Ups (Start Here)
Most beginners should start with an assisted push-up, not the floor.
Assistance lets you practice correct mechanics while reducing load on the arms and shoulders.
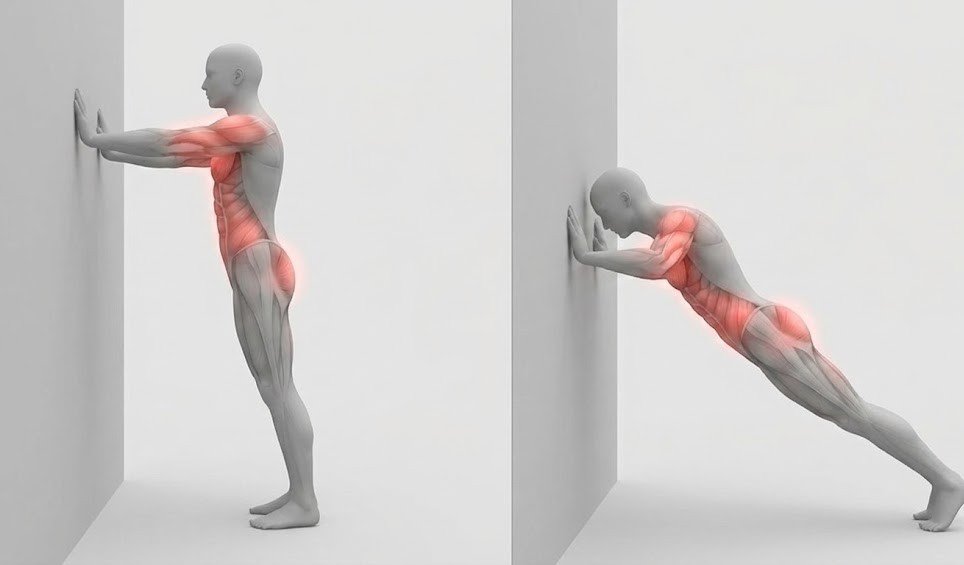
Option A: Wall Push-Ups (Very Beginner)
How to practice this step
- 2–3 sets
- 8–15 controlled reps
- Rest 60–90 seconds between sets
- Stop each set when form starts to fade
- Focus on smooth, controlled reps rather than pushing to fatigue.
- Adjust difficult by placing hands lower or higher on the wall
This is the easiest starting point and completely valid.
How it works
- Hands on a wall at chest height
- Body angled slightly forward
- Same plank-like form as a full push-up
Why this helps
- Teaches shoulder control
- Builds core awareness
- Very low joint stress
Use this if:
- You’re brand new to push-ups
- You struggle to hold a straight body line
- You’re rebuilding strength or confidence
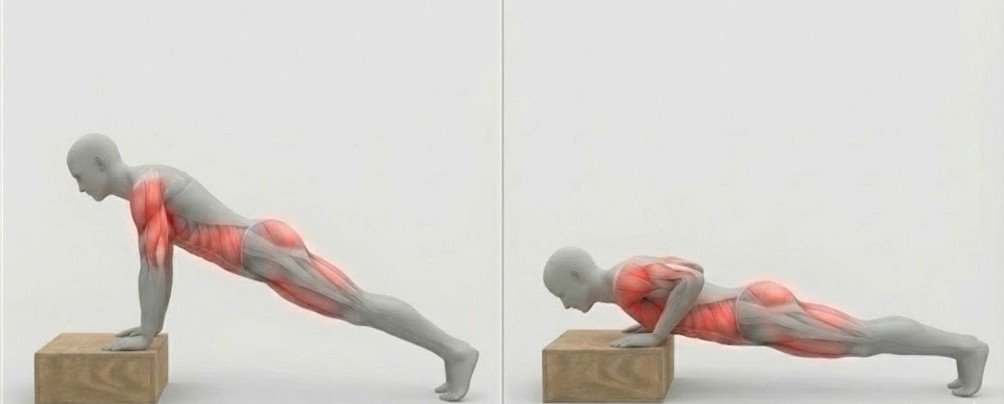
Option B: Incline Push-Ups (Best for Most Beginners)
- 2–4 sets
- 6–12 controlled reps per set
- Rest 60–90 seconds between sets
- Stop before form breaks down

This is the most useful starting variation for most people.
Hands are placed on:
- A bench
- A box
- A sturdy chair or countertop
The lower the surface, the harder the push-up.
What to focus on
- Same starting position as a floor push-up
- Body moves as one unit
- Elbows bend slightly back
- Controlled lowering and pressing
This variation reduces how much bodyweight you’re pressing.
Focus on keeping the same straight body line and controlled movement.
When you can complete all reps with:
- Stable shoulders
- No hip sagging
- Smooth control
👉 You’re ready to reduce assistance.
Step 2: Lower Assistance Gradually
Progress by making the push-up slightly harder, not by rushing to the floor.
Examples:
- Move from wall → bench
- From high bench → lower bench
- From bench → step
- From step → floor
Only change one thing at a time.
The push-up should still feel:
- Controlled
- Stable
- Repeatable
If your form starts to break down, it’s a good time to dial things back to an earlier variation you can perform with effort and control.
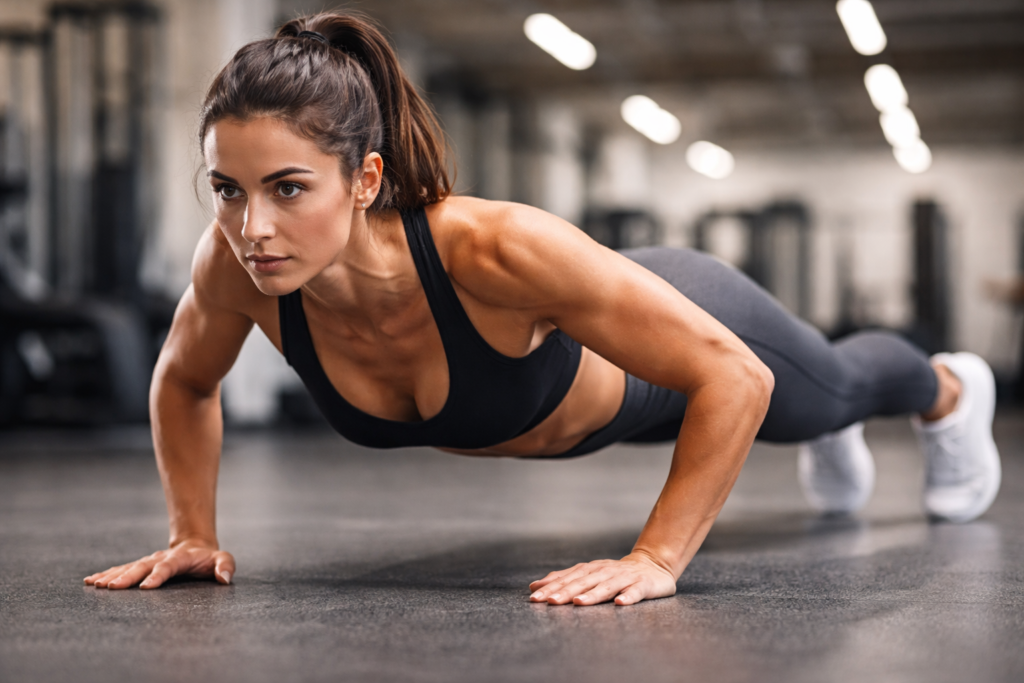
Step 3: Full Push-Ups (Unassisted)
- Sets of 3–6 clean reps
- Full control
- Rest long enough to recover your breathing and perform the next set with good form (usually 1–3 minutes)
- Add more reps to increase difficulty
When you reach the floor, start conservatively.
You don’t need high reps.
The purpose of rest is to keep each set clean and controlled — not to rush reps while fatigued.
This reinforces good movement habits and builds strength more reliably over time.
Quality reps build strength faster than sloppy volume.
How Often to Practice
- 2–4 sessions per week
- Leave rest days between harder sessions
- Consistency matters more than intensity
Key Takeaway
Push-ups are earned, not forced.
If you:
- Keep the same form
- Reduce assistance slowly
- Prioritise control
- Rest between sets
You’ll build real strength — and your push-ups will feel solid instead of stressful.
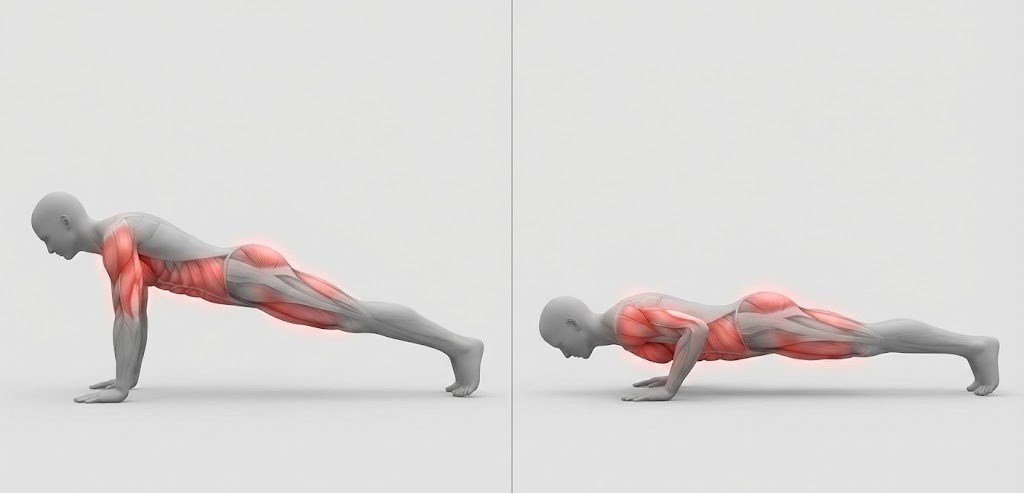
Muscles Worked in the Push-Up
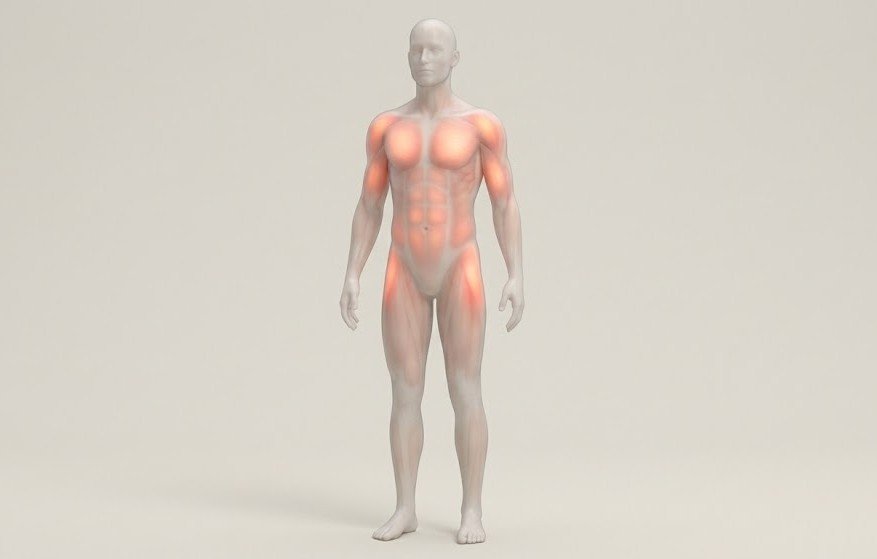
Push-ups train multiple muscle groups at once, which is why they’re so effective.
The main muscles involved are:
- Chest – responsible for pressing the body away from the floor
- Triceps – extend the arms and support lockout strength
- Shoulders – stabilise the arms and control the movement
Equally important, the push-up heavily involves:
- Core muscles – to keep the body aligned and stable
- Glutes and legs – to maintain tension through the entire body
This is why push-ups feel harder than they look — they’re a full-body movement, not just an arm exercise.
Why Push-Ups Matter
Push-ups build more than strength.
Because the body moves as one unit, push-ups train:
- Coordination
- Shoulder stability
- Core control
- Body awareness
They also scale easily.
The same movement can be made easier or harder without changing the fundamentals.
That makes push-ups:
- Accessible for beginners
- Challenging for advanced trainees
- Useful at any stage of training
Few exercises offer that range.
How Push-Ups Help in Everyday Life
The strength built through push-ups carries over into daily movement more than people realise.
Push-ups help with:
- Pushing doors, objects, or the ground when standing up
- Supporting bodyweight through the arms (getting up from the floor, bracing during a stumble)
- Maintaining shoulder and core stability during work, sport, and daily tasks
Just as importantly, learning to control your body under load builds confidence in movement — something many people lose over time.
How This Fits Into the Bigger Picture
Push-ups are just one movement, but they work best when they’re part of a broader approach to training.
If you want to understand how exercises like push-ups fit into a simple, sustainable framework for long-term progress, you can revisit The 3 Pillars of Fitness: Nutrition, Training & Mindset for Beginners
That guide explains how:
- Strength training
- Nutrition
- And mindset
work together to support consistent progress, not just individual exercises.
If you’re working through the push-up progressions, feel free to comment which variation you’re currently practicing.
If something feels unclear or you’re unsure when to progress, ask — clarity matters more than rushing.